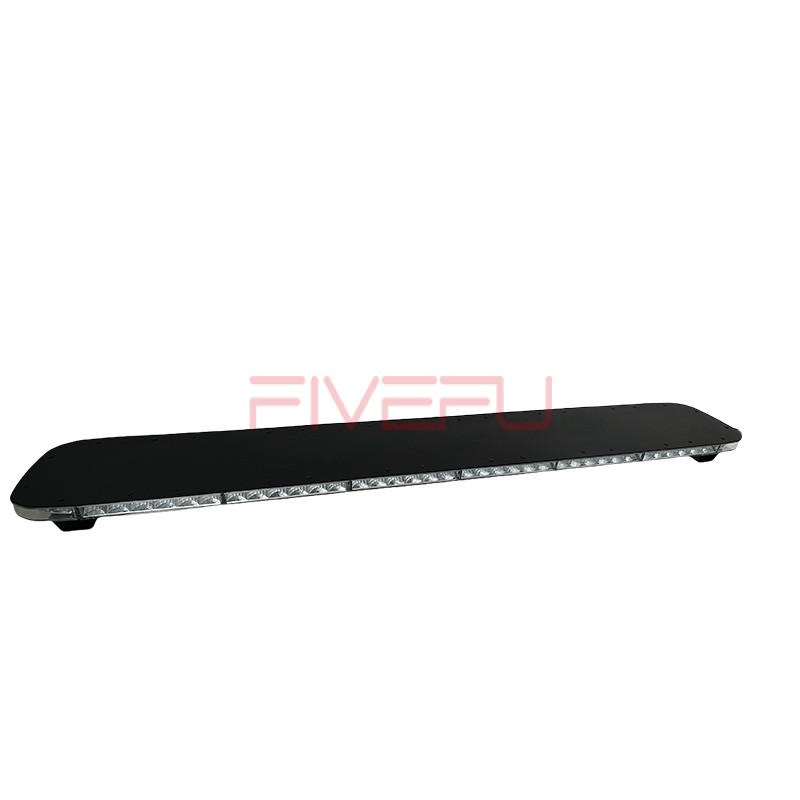
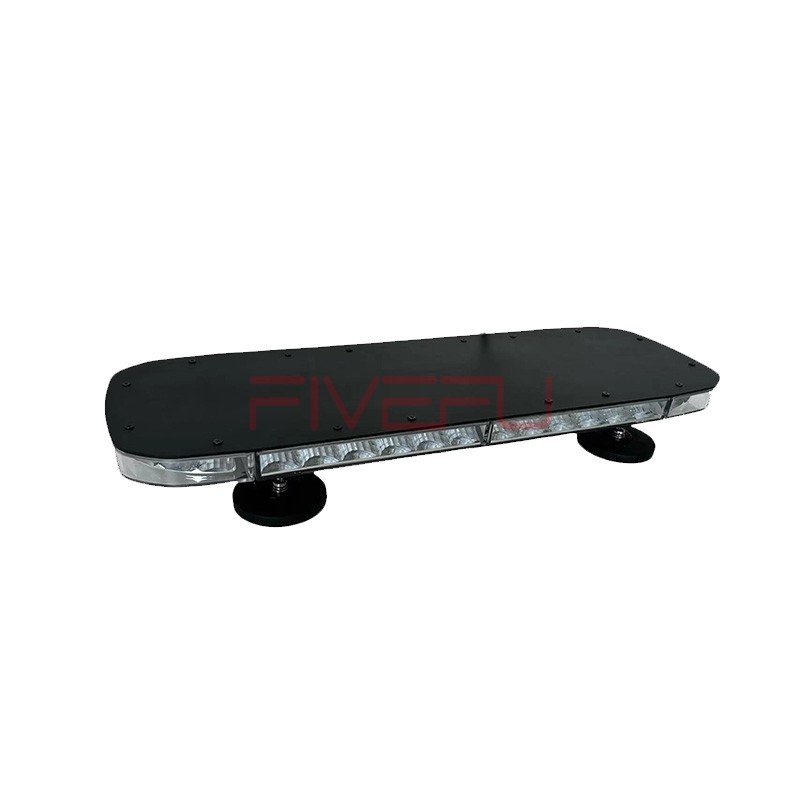
Installing and maintaining your truck’s LED light bar correctly can be challenging, and improper installation or lack of maintenance can result in inefficient lighting or damage. This guide will help you get the most from your LED light bar.
Proper installation and maintenance of truck LED light bars ensure maximum performance, longevity, and safety on the road. Follow this guide for effective installation and upkeep.
Keep reading for a step-by-step guide on installing and maintaining your truck’s LED light bar to keep it functioning at its best.
Tools and Supplies for Truck LED Light Bar Installation
Before installing your truck’s LED light bar, you’ll need the right tools and supplies. Proper preparation will make the installation process faster and smoother. Here’s a list of essential tools and items you’ll need:
- LED Light Bar: The main component, choose the one best suited to your vehicle’s needs.
- Mounting Brackets: These are necessary for securing the light bar in place. Make sure you have brackets designed for your vehicle’s make and model.
- Wiring Kit: A wiring harness will help you easily connect the light bar to your truck’s electrical system.
- Screws, Nuts, and Bolts: These are used for securing the brackets and light bar to the vehicle.
- Drill: Depending on your vehicle, you may need a drill to make mounting holes.
- Wrenches and Screwdrivers: These are used for tightening the screws and nuts on the mounting brackets.
- Voltage Tester: To ensure that your truck’s electrical system is working properly during installation.
Having these items ready will help make your LED light bar installation straightforward and hassle-free.
Installation Steps
Proper installation is crucial for both performance and safety. Follow these steps to install your LED light bar on your truck:
1.Select the Installation Location: Choose a location on your truck where the light bar will be securely mounted and provide optimal visibility. Common mounting spots include the roof, grill, or front bumper.
2.Mount the Brackets: Attach the mounting brackets to the truck’s frame. Some trucks may require drilling holes for mounting; ensure the holes are properly aligned for the brackets to be installed securely.
3.Attach the LED Light Bar: Once the brackets are in place, mount the LED light bar onto the brackets. Ensure it’s centered and level, then tighten the screws securely to avoid movement.
4.Wiring the Light Bar: Use the wiring kit to connect the light bar to your truck’s electrical system. Start by connecting the positive and negative wires to the appropriate terminals of your truck’s battery.
5.Test the Light Bar: Before finalizing the installation, test the LED light bar to ensure it’s working correctly. Turn on your truck and check if the light bar turns on.
6.Secure the Wiring: Once the light bar is working, secure any loose wires using zip ties or clips to prevent them from getting damaged or tangled during driving.
Proper installation ensures your LED light bar works effectively and lasts longer, minimizing future maintenance.
Maintenance Tips for Emergency LED Light Bars
Emergency LED light bars, often used by law enforcement, fire trucks, or rescue vehicles, require regular maintenance to ensure they’re always ready for use. Here are some tips to keep them in top condition:
1.Regular Cleaning: Dirt, dust, and debris can accumulate on your LED light bar, reducing its efficiency. Clean the surface regularly with a soft cloth and mild detergent. Avoid harsh chemicals that could damage the lenses or seals.
2.Check for Loose Mountings: Periodically check the mounting brackets to ensure they’re secure. Loose brackets can lead to vibrations that damage the light bar or cause it to malfunction.
3.Inspect the Wiring: Over time, the wires may become exposed or damaged. Regularly inspect the wiring for any signs of wear or fraying. Replace damaged wires to avoid electrical issues.
4.Check the Lights: Inspect the individual LEDs for any that might be malfunctioning or burnt out. Replacing dead LEDs quickly will ensure optimal lighting.
5.Test the Functionality: Every few months, test the light bar’s functionality, ensuring all modes (flashing, steady, etc.) are working properly.
By performing regular checks, you ensure that your emergency LED light bars function optimally, providing the necessary illumination during critical situations.
Value of High-Quality LED Lights
Investing in high-quality LED light bars pays off in the long run. Here’s why:
1.Durability: High-quality LED lights are designed to last much longer than cheaper alternatives. With a lifespan of up to 50,000 hours, they won’t need replacing as often, making them cost-effective over time.
2.Better Performance: Premium LED light bars offer superior brightness and beam patterns, providing better illumination for off-road adventures or nighttime driving. They often feature more advanced features, such as adjustable brightness or improved waterproofing.
3.Energy Efficiency: High-quality LED light bars consume less power while providing maximum brightness. This means less strain on your vehicle’s electrical system, making them ideal for long-term use.
4.Improved Safety: A high-quality light bar provides clearer visibility, making driving in dark or hazardous conditions safer. Whether you’re on a rough trail or driving at night, superior light bars ensure you can see and be seen.
Investing in a top-notch LED light bar not only saves you money on replacements but also improves your overall driving experience.
Conclusion
Proper installation and maintenance are essential to maximize the performance and lifespan of your truck’s LED light bar. Follow these tips to keep your light bar in optimal condition, ensuring safety and efficiency.


