Installing LED lighting in your vehicle is a great way to enhance its appearance, but how do you do it safely and effectively?
Proper installation of LED lights in your vehicle ensures that they function correctly and don’t damage your car’s electrical system.
Wondering how to install LED lights in your car? Follow these simple steps for a smooth installation process.
Preparing for Installation
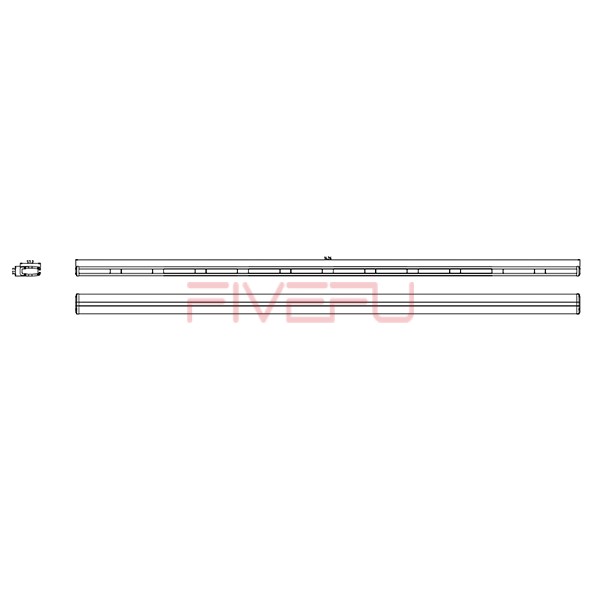
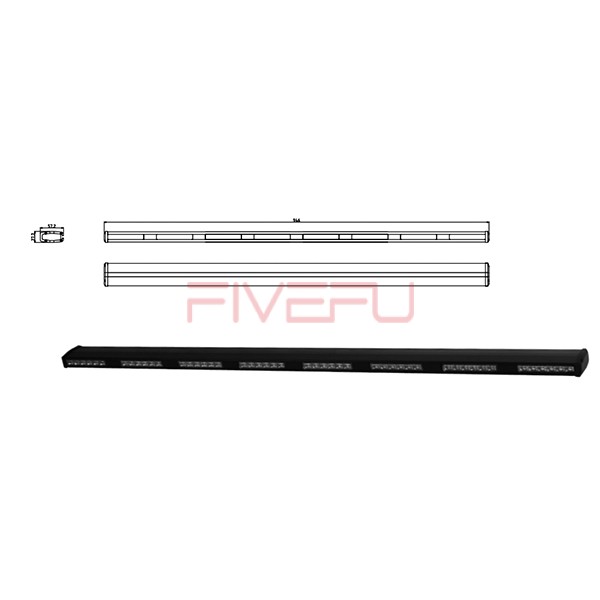
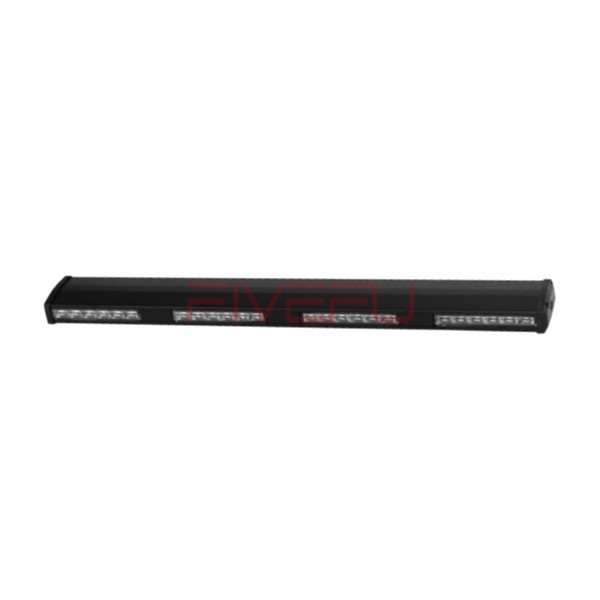
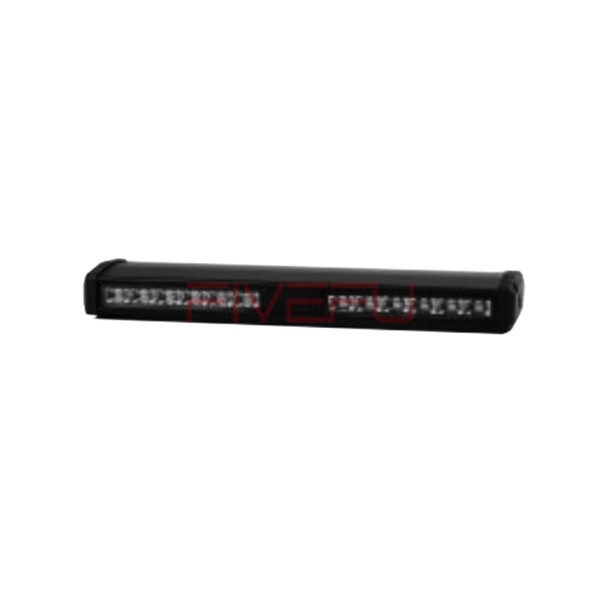
Before you start, gather all the necessary materials such as LED strips, wiring, connectors, and a power source. Decide where you want to install the lights—common locations include under the dashboard, inside the footwells, or along the exterior of the car.
Step-by-Step Installation Process
- Clean the surface: Make sure the areas where you’ll attach the LED strips are clean and dry for a strong adhesive bond.
- Attach the LED strips: Apply the adhesive backing to the LED strips and press them firmly into place.
- Connect the wiring: For interior lighting, connect the wires to your car’s power source, usually through the fuse box or a cigarette lighter adapter.
- Test the lights: Ensure everything works properly by turning on the lights and checking the connections.
Tips for a Neat Finish
Use zip ties or clips to keep the wiring neat and avoid any interference with moving parts of your vehicle.
Conclusion
Installing LED lights in your vehicle can be done easily with proper planning and installation steps, adding a personalized touch to your car.