Installing a light bar onto your vehicle can improve visibility, but improper installation can lead to electrical issues, reduced functionality, and safety hazards. Here’s how to install it correctly.
Installing a light bar properly ensures safety, functionality, and durability. Failing to do so can cause electrical problems and even void warranties.
Wondering how to mount a light bar securely? Follow these steps to make sure you do it right and avoid any installation issues.
Choosing the Right Light Bar
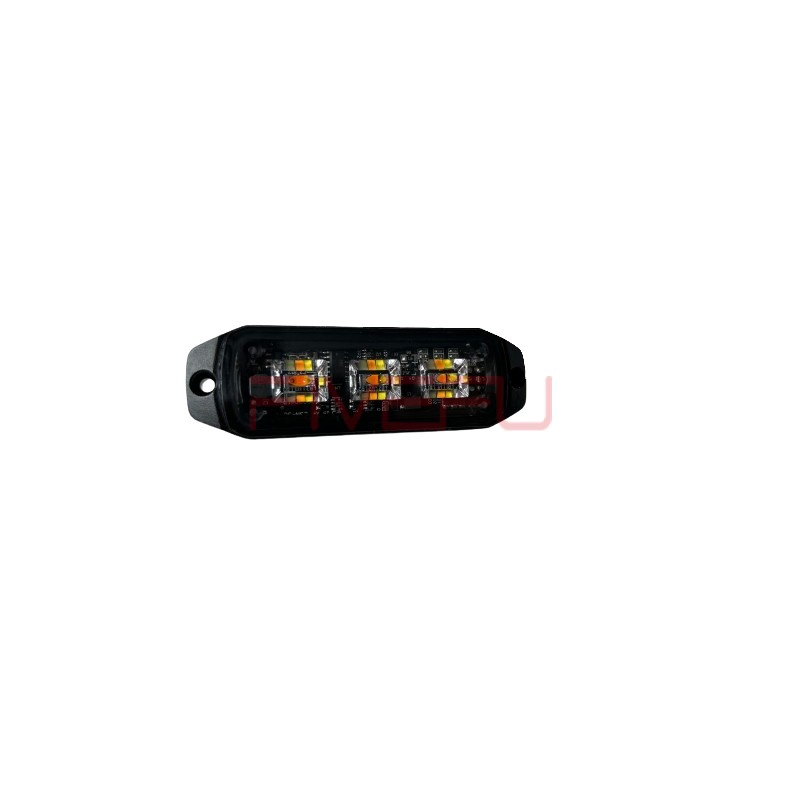
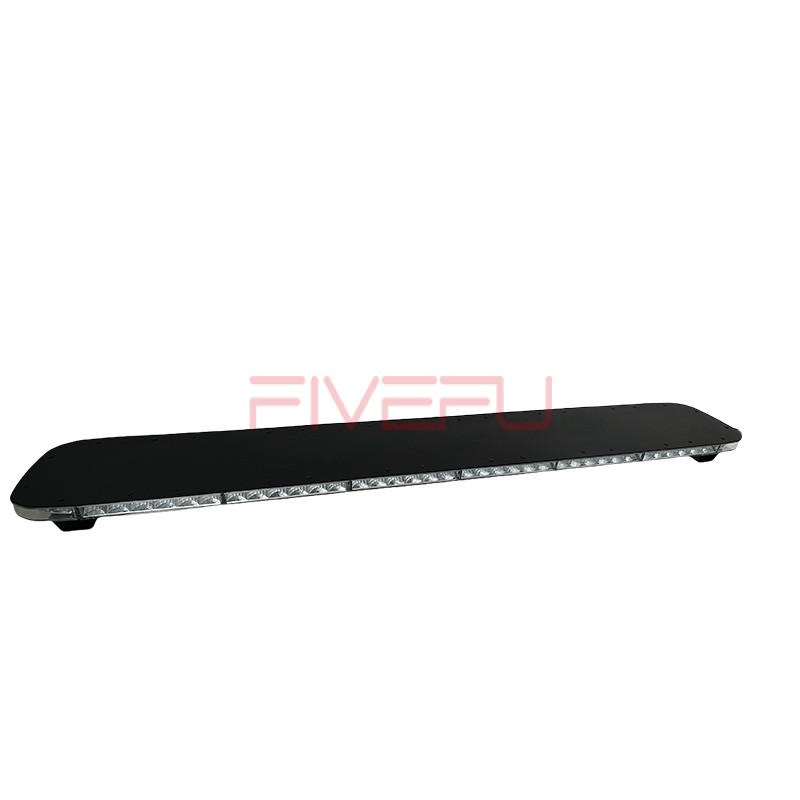
The first step is selecting the appropriate light bar size for your vehicle. Factors to consider include vehicle type, usage, and light bar strength. A larger light bar provides brighter illumination, but it requires proper mounting.
Mounting Locations
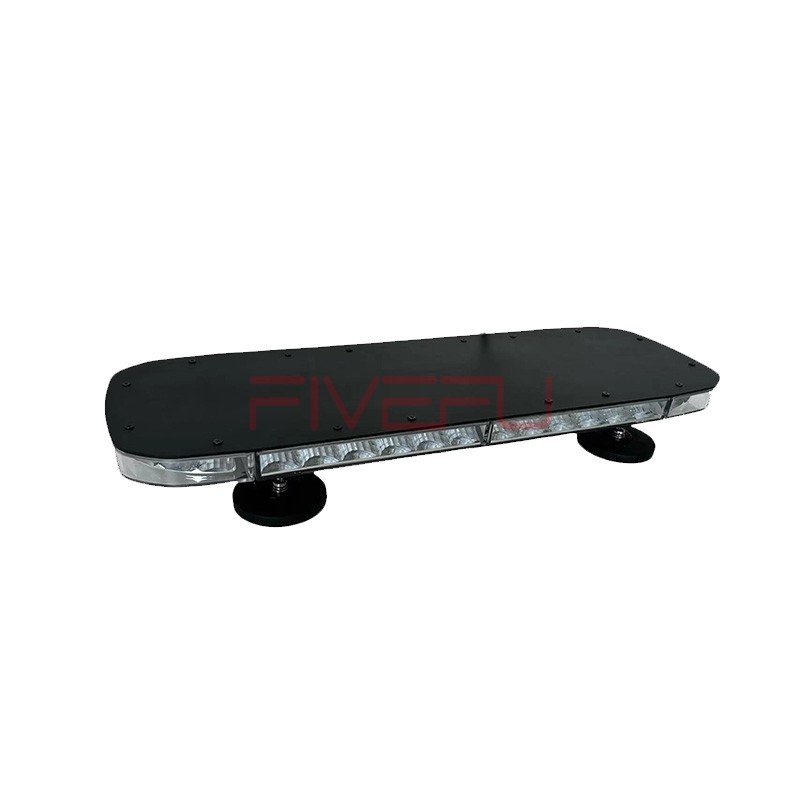
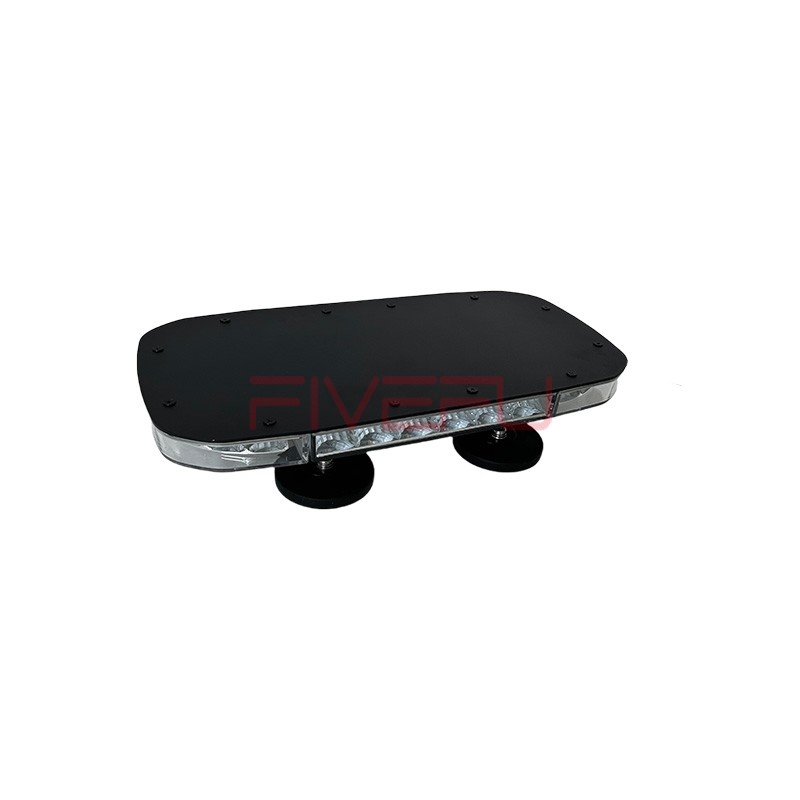
Choose the ideal mounting location, typically on the roof or bumper. Ensure the area is sturdy enough to support the weight of the light bar and that no obstructions will interfere with its light output.
Electrical Wiring and Installation
The next step is connecting the light bar to your vehicle’s electrical system. Use heavy-duty wiring to handle the increased current draw. Make sure you connect the positive and negative terminals correctly to avoid any electrical malfunctions.
Safety and Testing
After installation, test the light bar to ensure it works properly. Double-check all wiring for secure connections. Finally, make sure the light bar is mounted securely to prevent it from vibrating or shifting while driving.
Conclusion
Installing a light bar enhances visibility and safety when done correctly. Follow the right steps for secure installation and optimal performance.