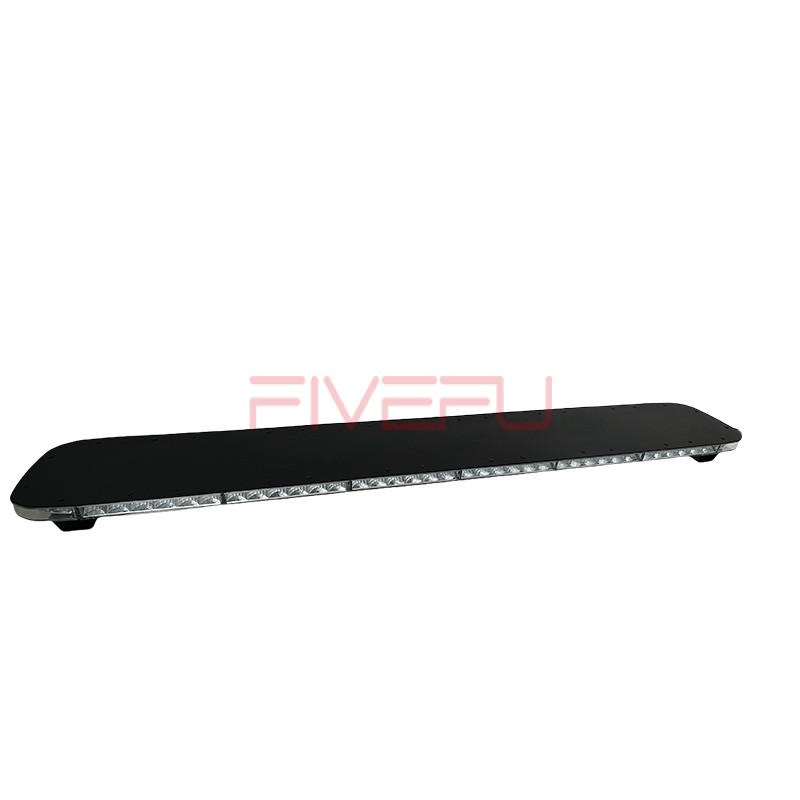
Standard LED lamps provide steady illumination, but adding a flashing feature enhances visibility and aesthetic appeal. Without proper circuit design, instability or failure may occur. Understanding the key components and steps ensures a successful build.
Building an LED lamp with flashing lights requires LEDs, resistors, a power source, and a flashing circuit using a 555 timer or microcontroller. Proper wiring and configuration are essential for consistent performance.
A flashing LED lamp combines electronic principles with practical applications. Let’s explore the essential steps and components involved.
1. Components Needed for a Flashing LED Lamp
Before assembling your LED lamp, gather the necessary components.
Essential Components
- LEDs – Choose suitable brightness and color.
- Resistors – Limit current to prevent LED damage.
- Power source – Batteries or a DC adapter.
- 555 Timer IC or Microcontroller – Generates flashing effect.
- Capacitors and transistors – Regulate signal flow.
- Wires and a circuit board – For connections.
2. Understanding Flashing LED Circuit Design
A flashing LED circuit can be built using different methods.
Using a 555 Timer IC
- Configurable flashing speed via resistor-capacitor combinations.
- Reliable and cost-effective solution.
- Simple wiring for beginners.
Using a Microcontroller
- Customizable flashing patterns.
- Requires programming knowledge.
- More versatile for complex lighting effects.
3. Step-by-Step Guide to Building a Flashing LED Lamp
Step 1: Assemble the Circuit Components
- Place LEDs on a breadboard for testing.
- Connect resistors to prevent overcurrent.
- Prepare the power supply and ensure voltage compatibility.
Step 2: Configure the Flashing Mechanism
- For a 555 Timer IC:
- Connect pins correctly: Pin 1 (GND), Pin 8 (VCC), Pin 3 (Output).
- Adjust resistor and capacitor values for flash rate.
- For a Microcontroller:
- Write and upload flashing code.
- Use digital output pins to control LED states.
Step 3: Solder the Components
- Transfer tested circuit onto a PCB.
- Use proper soldering techniques to ensure solid connections.
- Double-check connections to avoid short circuits.
Step 4: Enclose the Circuit
- Choose a suitable casing for protection.
- Ensure proper heat dissipation.
- Secure wiring to prevent loose connections.
4. Optimizing the Flashing LED Lamp
Enhance performance and longevity with these tips.
Power Efficiency
- Use energy-efficient LEDs.
- Optimize resistor values for minimal power loss.
Customization Options
- Adjust flashing speed for different effects.
- Integrate multiple LED colors for dynamic lighting.
- Add a dimming feature for brightness control.
Safety Considerations
- Ensure correct polarity to prevent circuit failure.
- Use proper insulation to avoid short circuits.
- Test with a low voltage source before full power application.
Conclusion
Building an LED lamp with flashing lights involves selecting components, designing a circuit, and assembling with precision. Following these steps ensures a functional and customizable lighting solution.


